
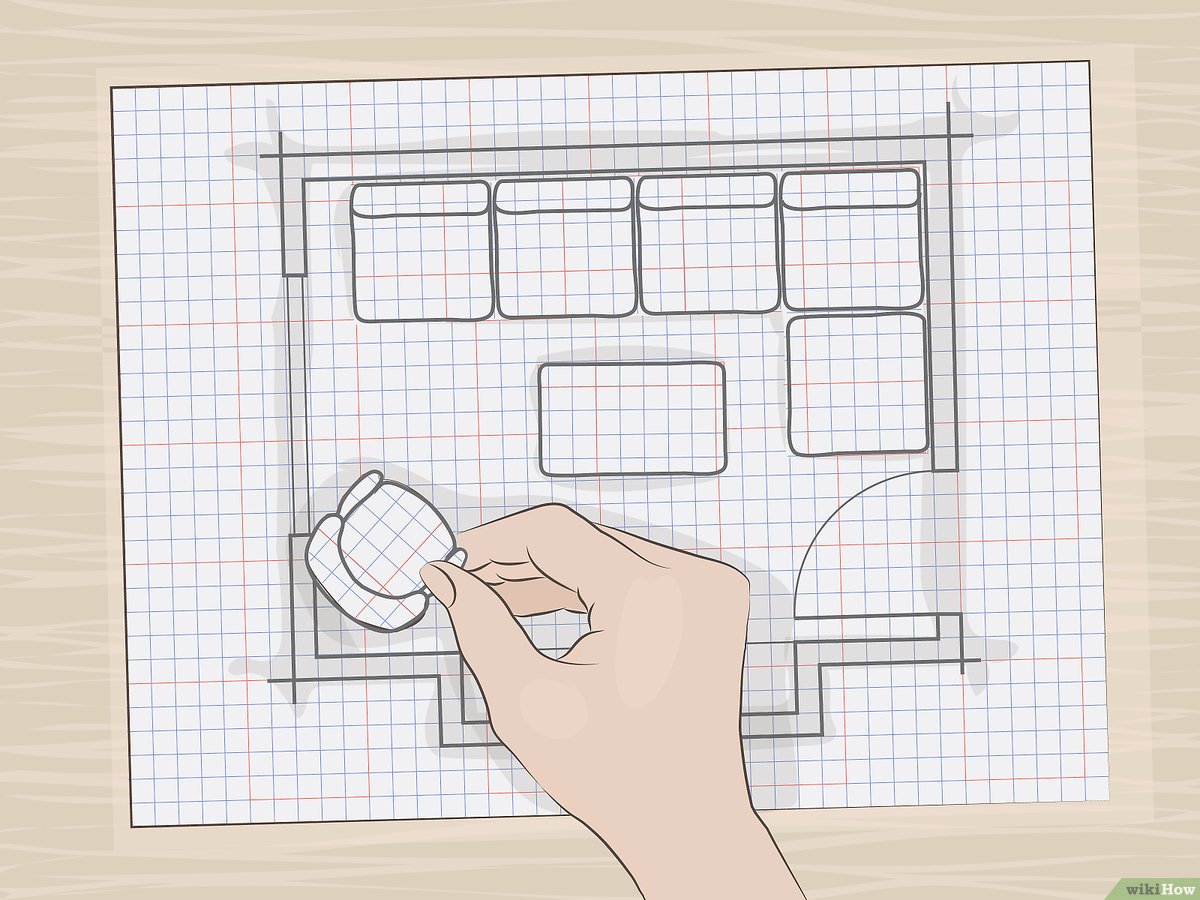
Introduction to Floor Plans
Floor plans are essential architectural drawings that provide a detailed representation of a building’s layout, including room dimensions, furniture placement, and door locations. Accurately drawing doors on floor plans is crucial for visualizing the flow and functionality of interior spaces. In this article, we’ll explore the process of drawing a door on a floor plan, from understanding scale and measurements to identifying door types and using appropriate drawing techniques.
Understanding Scale and Measurements
Scale is a critical aspect of floor plans, as it determines the relationship between the physical dimensions of the building and the scaled-down representation on paper. Architects and designers use scale ratios to ensure that floor plans accurately reflect the real-world dimensions of the building. Common scale ratios include 1/4″ = 1′-0″ (1:48) and 1/8″ = 1′-0″ (1:96), with the latter providing more detail for larger buildings.
Taking accurate measurements is essential for creating precise floor plans. Architects and designers use tape measures or laser measures to measure room dimensions, wall lengths, and door widths. It’s important to record measurements in both metric and imperial units to accommodate different preferences and ensure consistency across drawings.
Identifying Door Locations and Types
Before drawing doors on a floor plan, it’s crucial to identify their locations and types based on architectural drawings or blueprints. Door locations are typically indicated by dashed lines or symbols, making them easy to spot within the floor plan. Once door locations are determined, designers can select appropriate door types based on their functionality and the requirements of the space.
When choosing door types, designers must consider factors such as interior versus exterior use, space constraints, and accessibility requirements. Common door types include swinging doors, sliding doors, and pocket doors. Each type has its advantages and limitations, and designers must select the most suitable option for each specific application.
Drawing Techniques and Symbols
Drawing doors on a floor plan involves sketching door outlines and adding standardized symbols to represent them accurately. Designers typically use a pencil to sketch door openings on the floor plan, ensuring that the dimensions and proportions are consistent with the building’s scale. Precision is key to accurately depicting door sizes and placements within the floor plan.
In addition to sketching door outlines, designers must add standardized symbols to indicate door types and features. These symbols help communicate essential information about the doors, such as swing direction, door swing arc, and door swings in elevation views. Using standardized symbols ensures clarity and consistency across architectural drawings, making it easier for builders and contractors to interpret the plans.
Annotation and Labeling
Once doors are drawn and symbolized on the floor plan, designers must annotate and label them to provide additional information to readers. Labels should specify the type of door (e.g., bedroom door, bathroom door) and its dimensions (e.g., 30″ x 80″) for clarity and reference. Designers can use text annotations or callouts to provide additional details about special door features, such as fire-rated doors or soundproofing treatments.
Clarity and legibility are essential when labeling doors on a floor plan to ensure that readers can easily interpret the information. Designers should use clear, readable fonts and avoid overcrowding the floor plan with excessive annotations. By providing comprehensive labeling and annotation, designers can create floor plans that effectively communicate door locations and specifications to builders, contractors, and other stakeholders involved in the construction process.


More Stories
How an Immigration Lawyer Helps You Navigate Complex Visa Rules
Is there a lifetime limit on epidural steroid injection?
What is Section 20 of the Motor Accident Insurance Act (Queensland)?