
How to Make Stickers: A Comprehensive Guide
Stickers have been a popular form of self-expression, decoration, and communication for decades. From customizing notebooks and laptops to creating eye-catching packaging, stickers have a wide range of applications. In this comprehensive guide, we will explore the various methods and materials used to make stickers, as well as provide tips and tricks to help you create professional-looking results. We’ll also include a FAQ section and a summary table for quick reference.
1. Understanding the Basics of Sticker Making
1.1 What are Stickers?
Stickers are adhesive labels that can be applied to various surfaces, such as paper, plastic, or metal. They are often used for decorative purposes, but can also serve functional roles, such as labeling items or conveying information.
1.2 Types of Stickers
There are several types of stickers, each with its own unique characteristics and applications:
- Die-cut Stickers: These stickers are cut into specific shapes or designs, often using a die-cutting machine.
- Kiss-cut Stickers: These stickers are cut through the top layer of the material (usually vinyl or paper) but not through the backing, allowing for easy peeling and application.
- Printed Stickers: These stickers are created by printing designs or images onto sticker paper or vinyl using a printer.
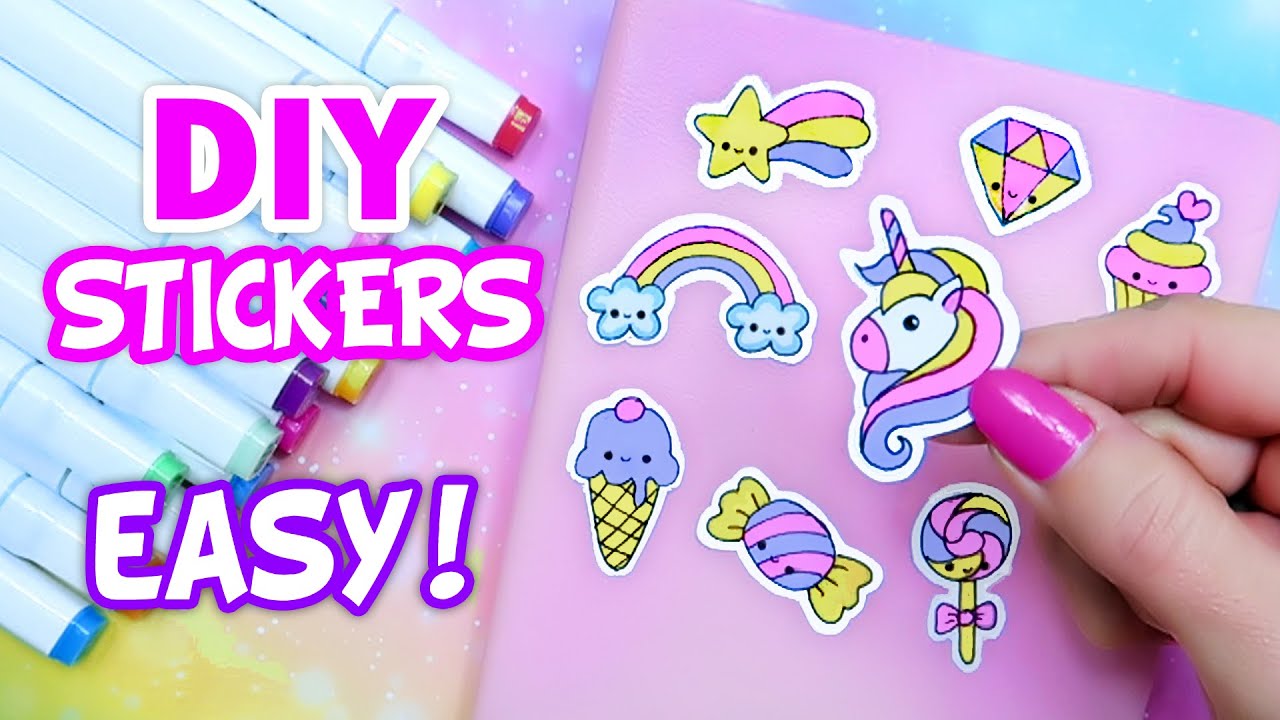
- Handmade Stickers: These stickers are created manually using various materials and techniques, such as drawing, painting, or cutting.
2. Materials and Tools Needed for Sticker Making
To create stickers, you will need the following materials and tools:
2.1 Sticker Paper or Vinyl
The foundation of any sticker is the material it is printed or cut from. Popular options include:
- Sticker Paper: This paper has a pressure-sensitive adhesive backing that allows stickers to stick to various surfaces.
- Vinyl: Vinyl stickers are durable, waterproof, and can be cut into intricate designs using a cutting machine.
2.2 Cutting Tools
Depending on your preferred method, you may need one or more of the following cutting tools:
- Scissors: For simple sticker designs or handmade stickers.
- Craft Knives: For more precise cutting and detailed designs.
- Die-cutting Machines: These machines use metal dies to cut stickers into specific shapes and designs.
- Cutting Plotters: These machines use a sharp blade to cut stickers from vinyl or sticker paper.
2.3 Printing Equipment
If you plan to create printed stickers, you will need:
- Printer: An inkjet or laser printer capable of printing on sticker paper or vinyl.
- Computer: For designing and preparing your sticker artwork.
2.4 Additional Supplies
Other useful supplies for sticker making include:
- Transfer Tape: Used to transfer die-cut or kiss-cut stickers from their backing to the desired surface.
- Weeding Tools: Used to remove excess vinyl from around the sticker design.
- Squeegees: Used to smooth out air bubbles and ensure proper adhesion when applying stickers.
3. Methods for Making Stickers
There are several methods for creating stickers, each with its own advantages and skill level requirements. Here are some of the most popular techniques:
3.1 Handmade Stickers
Handmade stickers are a great option for those who enjoy crafting and want to create unique, one-of-a-kind designs. To make handmade stickers:
- Choose your materials: Select paper, cardstock, or sticker paper as your base.
- Design your sticker: Draw, paint, or collage your design directly onto the sticker material.
- Cut out your sticker: Use scissors or craft knives to cut out your sticker design.
- Apply adhesive: If using paper or cardstock, apply a clear adhesive or double-sided tape to the back of your sticker.
3.2 Printed Stickers
Printed stickers allow you to create high-quality, full-color designs using your printer. Here’s how to make printed stickers:
- Design your sticker artwork: Use graphic design software or online tools to create your sticker design.
- Print your design: Load your printer with sticker paper or vinyl and print your design.
- Cut out your stickers: Use scissors, craft knives, or a die-cutting machine to cut out your stickers.
3.3 Die-cut or Kiss-cut Stickers
Die-cut and kiss-cut stickers are created using a cutting machine, such as a die-cutter or cutting plotter. Here’s how to make them:
- Design your sticker artwork: Create your design using vector graphics software.
- Cut your stickers: Load your sticker material into the cutting machine and cut out your design.
- Weed your stickers: Use weeding tools to remove any excess material around your sticker design.
- Apply transfer tape: Place transfer tape over your stickers and peel off the backing to transfer your stickers to the desired surface.
4. Tips for Creating Professional-Looking Stickers
To ensure your stickers look their best, follow these tips:
4.1 Design Considerations
- Use high-quality, vector-based artwork: This will ensure your stickers look sharp at any size.
- Consider the final size of your stickers: Design your artwork to fit the intended size of your stickers.
- Use bold, simple designs: Complex designs may not translate well to small stickers.
4.2 Printing and Cutting
- Use high-quality sticker paper or vinyl: Cheap materials may not adhere well or produce vibrant colors.
- Ensure proper alignment when cutting: Misaligned cuts can make your stickers look unprofessional.
- Use a sharp blade or die: Dull blades can cause fraying or uneven cuts.
4.3 Application and Finishing Touches
- Clean the surface before applying stickers: Dust, dirt, or oil can prevent proper adhesion.
- Use a squeegee to smooth out air bubbles: This will help your stickers adhere smoothly.
- Consider adding a clear laminate or gloss finish: This can protect your stickers from fading or peeling.
5. FAQ Section
5.1 What type of paper or vinyl should I use for stickers?
The best material for your stickers will depend on your intended use. Sticker paper is a good choice for short-term use, while vinyl is more durable and waterproof.
5.2 Can I make stickers without a cutting machine?
Yes, you can create handmade stickers using scissors or craft knives. However, a cutting machine will allow you to create more intricate designs and ensure precise cuts.
5.3 How do I design my sticker artwork?
You can use graphic design software like Adobe Illustrator or Inkscape, or online tools like Canva or PicMonkey to create your sticker designs.
5.4 Can I sell the stickers I make?
Yes, many people sell handmade or custom-designed stickers on platforms like Etsy or at local craft fairs. Just be sure to follow any applicable laws and regulations in your area.
5.5 How do I store my stickers?
Store your stickers in a cool, dry place away from direct sunlight. If using transfer tape, peel it off before storing to prevent adhesive buildup.
6. Summary Table of Sticker Making Supplies
| Material/Tool | Examples |
|---|---|
| Sticker Paper/Vinyl | Avery, Oracal, Cricut |
| Cutting Tools | Scissors, craft knives, die-cutters |
| Printing Equipment | Inkjet or laser printer |
| Transfer Tape | Cricut, Oracal |
| Weeding Tools | Tweezers, dental picks |
| Squeegees | Plastic or rubber squeegees |
For more detailed information on sticker making and design, you can refer to the Wikipedia page on Stickers.
Conclusion
Making your own stickers is a fun and creative way to express your personality, promote your brand, or add a unique touch to your projects. By understanding the different materials, tools, and techniques available, you can create professional-looking stickers that are tailored to your specific needs and preferences. Whether you prefer handmade designs, printed stickers, or die-cut creations, this guide has provided you with the knowledge and inspiration to start making your own stickers today.


More Stories
How an Immigration Lawyer Helps You Navigate Complex Visa Rules
Is there a lifetime limit on epidural steroid injection?
What is Section 20 of the Motor Accident Insurance Act (Queensland)?