
How to Draw Bulbasaur: A Comprehensive Guide
Introduction
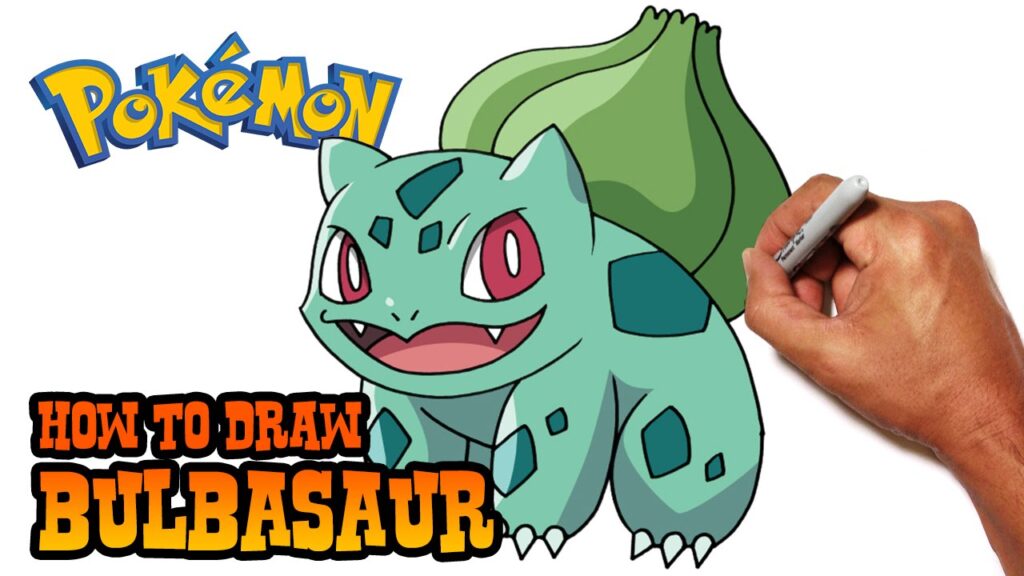
Bulbasaur, the first Pokémon in the National Pokédex, is a beloved character known for its unique design and charming personality. Drawing Bulbasaur can be a fun and rewarding experience for both beginners and experienced artists. This guide will provide a detailed, step-by-step approach to drawing Bulbasaur, including tips, techniques, and variations to enhance your artistic skills.
Table of Key Information
| Detail | Information |
|---|---|
| Character Name | Bulbasaur |
| Type | Grass/Poison |
| First Appearance | Pokémon Red and Green (1996) |
| Evolution | Evolves into Ivysaur at level 16 |
| Drawing Difficulty | Easy to Moderate |
| Recommended Tools | Pencils, erasers, colored pencils, markers |
| Resources | Wikipedia page on Bulbasaur |
Understanding Bulbasaur
Character Overview
Bulbasaur is a small, quadrupedal Pokémon with a plant bulb on its back. It has blue-green skin with darker spots and is characterized by its large, expressive eyes and pointed ears. As a starter Pokémon, Bulbasaur is often chosen for its balanced stats and unique typing, making it a favorite among fans.
Cultural Significance
As one of the original Pokémon, Bulbasaur holds a special place in the hearts of fans. It represents the beginning of many players’ journeys in the Pokémon world and has appeared in various media, including animated series, movies, and merchandise.
Step-by-Step Guide to Drawing Bulbasaur
Step 1: Start with Basic Shapes
Begin your drawing by sketching basic shapes to outline Bulbasaur’s body.
- Draw a Circle for the Head: Start with a medium-sized circle at the top of your paper. This will serve as the head.
- Add an Oval for the Body: Below the head, draw a larger oval shape for Bulbasaur’s body. The oval should be slightly tilted to give the impression of a four-legged stance.
- Guide Lines: Lightly sketch a vertical line down the center of the head and a horizontal line across the middle. These will help you position Bulbasaur’s facial features later.
Step 2: Outline the Head and Body
- Shape the Head: Using the circle as a guide, refine the shape of Bulbasaur’s head. Make it slightly wider at the bottom and add a small curve at the top for the forehead.
- Define the Body: Using the oval, sketch the outline of Bulbasaur’s body, making it slightly wider at the bottom to represent its legs.
Step 3: Add Facial Features
- Eyes: Draw two large oval shapes for Bulbasaur’s eyes, positioned on either side of the vertical guide line. Add smaller circles inside for the pupils.
- Nose: Below the eyes, draw a small, rounded triangle for Bulbasaur’s nose.
- Mouth: Sketch a wide, curved line for the mouth. You can add a small curve at each end to give it a friendly expression.
Step 4: Draw the Ears and Bulb
- Ears: On top of the head, draw two pointed ears. The ears should be triangular and slightly curved.
- Bulb: On Bulbasaur’s back, draw the bulb. Start with a large oval shape that sits on top of the body. The bulb should taper to a point at the top and have a slightly irregular shape to represent the plant.
Step 5: Add Legs and Feet
- Front Legs: Draw two short, thick legs at the front of the body. Each leg should have a rounded shape, with three small toes at the end.
- Back Legs: Draw two larger legs at the back, giving them a similar rounded shape. The back legs should be slightly angled to show Bulbasaur’s stance.
Step 6: Detail the Body
- Spots: Add Bulbasaur’s distinctive spots. Draw several irregular shapes on its back and legs to represent the darker patches on its skin.
- Texture: Add curved lines on the bulb to indicate texture and depth. These lines can follow the shape of the bulb to create a more realistic appearance.
Step 7: Finalize the Drawing
- Clean Up: Erase any unnecessary guide lines and refine the outlines of Bulbasaur’s features.
- Add Details: You can add more details, such as shading or additional textures, to enhance the drawing.
Step 8: Color Your Drawing
- Choose Colors: Use various shades of green for Bulbasaur’s body, a darker green for the bulb, and lighter shades for highlights.
- Coloring Technique: Use colored pencils or markers to fill in the colors. Start with lighter shades and gradually add darker tones for depth.
- Final Touches: After coloring, you can outline your drawing with a fine black pen to make it stand out.
Tips for Drawing Bulbasaur
- Use References: Look at images of Bulbasaur from games or shows to get a better understanding of its features and colors.
- Practice: Don’t be discouraged if your first attempt doesn’t turn out as expected. Practice makes perfect!
- Experiment: Feel free to add your own creative touches, such as different poses or expressions.
Common Mistakes to Avoid
- Proportions: Ensure that the head and body proportions are balanced; Bulbasaur has a relatively large head compared to its body.
- Over-detailing: While details are important, avoid making the drawing too cluttered. Keep it simple for a cleaner look.
- Neglecting the Background: Adding a simple background can enhance your drawing. Consider drawing Bulbasaur in a natural setting, like a grassy area or a Pokémon battle scene.
The Cultural Impact of Bulbasaur
Popularity in Media
Bulbasaur has appeared in various media formats, including video games, animated series, and merchandise. As one of the original Pokémon, it has become an iconic character in the franchise.
Bulbasaur in Competitive Play
In competitive Pokémon games, Bulbasaur’s evolutions, Ivysaur and Venusaur, are often used for their unique abilities and moves. Understanding Bulbasaur’s role in the competitive scene can enhance a player’s appreciation for the character.
FAQ Section
Q1: What materials do I need to draw Bulbasaur?
A1: You will need paper, pencils, erasers, colored pencils or markers, and possibly a fine black pen for outlining.
Q2: Can I draw Bulbasaur in different poses?
A2: Yes, you can experiment with different poses and expressions to create a unique version of Bulbasaur.
Q3: How long does it take to draw Bulbasaur?
A3: The time it takes to draw Bulbasaur varies depending on your skill level, but it typically takes 30 minutes to an hour.
Q4: Is it necessary to use a reference image?
A4: While it’s not necessary, using a reference image can help you capture Bulbasaur’s features more accurately.
Q5: Can I use digital tools to draw Bulbasaur?
A5: Yes, you can use digital drawing software or apps to create a digital version of Bulbasaur.
Q6: What if I make a mistake while drawing?
A6: Don’t worry! Use an eraser to correct mistakes, or incorporate them into your drawing for a unique touch.
Q7: Is Bulbasaur suitable for beginners to draw?
A7: Yes, Bulbasaur is a great character for beginners due to its simple shapes and features.
Q8: Where can I find tutorials for drawing Bulbasaur?
A8: There are many online tutorials, including videos and step-by-step guides, that can help you learn how to draw Bulbasaur.
Conclusion
Drawing Bulbasaur can be a fun and rewarding activity for artists of all skill levels. By following the steps outlined in this guide and practicing regularly, you can create a charming representation of this beloved Pokémon. Remember to enjoy the process and let your creativity shine!For more detailed information about Bulbasaur and the Pokémon franchise, you can refer to the Wikipedia page on Bulbasaur.


More Stories
How an Immigration Lawyer Helps You Navigate Complex Visa Rules
Is there a lifetime limit on epidural steroid injection?
What is Section 20 of the Motor Accident Insurance Act (Queensland)?