
How Long Does It Take for Pipes to Freeze?
As winter approaches, the risk of frozen pipes becomes a concern for many homeowners. Frozen pipes can lead to costly damage and disrupt water supply, making it crucial to understand the factors that influence the freezing process and take preventive measures. In this comprehensive article, we will explore the science behind pipe freezing, the timeline of the freezing process, and strategies to prevent and thaw frozen pipes.
The Science of Pipe Freezing
Water expands as it freezes, and this expansion can exert tremendous pressure on the pipes, causing them to burst. The freezing process begins when the water temperature drops below 32°F (0°C), the freezing point of water. As the water cools, ice crystals start to form, and the ice gradually builds up along the pipe walls, reducing the available space for water flow.The rate at which pipes freeze depends on several factors, including:
- Pipe material: Copper and plastic pipes tend to freeze faster than galvanized steel or cast iron pipes.
- Pipe diameter: Smaller diameter pipes freeze more quickly than larger ones.
- Water flow: Pipes with no or low water flow freeze faster than those with constant water movement.
- Insulation: Uninsulated pipes are more susceptible to freezing than well-insulated ones.
- Ambient temperature: The lower the air temperature, the faster the pipes will freeze.
Timeline of Pipe Freezing
The time it takes for pipes to freeze can vary depending on the factors mentioned above. However, as a general guideline, pipes can start to freeze within 6 to 12 hours when exposed to freezing temperatures. Here’s a rough timeline of the freezing process:
- 0-6 hours: The water temperature inside the pipes drops below 32°F (0°C), and ice crystals begin to form along the pipe walls.
- 6-12 hours: The ice buildup continues, reducing the available space for water flow. The pipes may start to show signs of freezing, such as reduced water pressure or flow.
- 12-24 hours: The pipes are now partially or completely frozen, and water flow may be completely blocked. The pressure inside the pipes increases as the ice expands, potentially leading to pipe bursts.
It’s important to note that this timeline is an estimate and may vary depending on the specific conditions in your home or building.
Preventing Frozen Pipes
Prevention is the best way to avoid the hassle and expense of dealing with frozen pipes. Here are some effective strategies to prevent pipes from freezing:
- Insulate pipes: Wrap exposed pipes, especially in unheated areas like the attic, basement, or crawl space, with insulation sleeves or heat tape.
- Seal air leaks: Caulk and seal any cracks, holes, or openings that allow cold air to enter the home and reach the pipes.
- Keep the thermostat at a consistent temperature: Maintain a minimum temperature of 55°F (13°C) in your home, even when you’re away.
- Allow faucets to drip: During extreme cold, let a small trickle of water run from faucets connected to exposed pipes. Moving water is less likely to freeze.
- Disconnect garden hoses: Shut off water to exterior faucets and drain any remaining water from the pipes and hose.
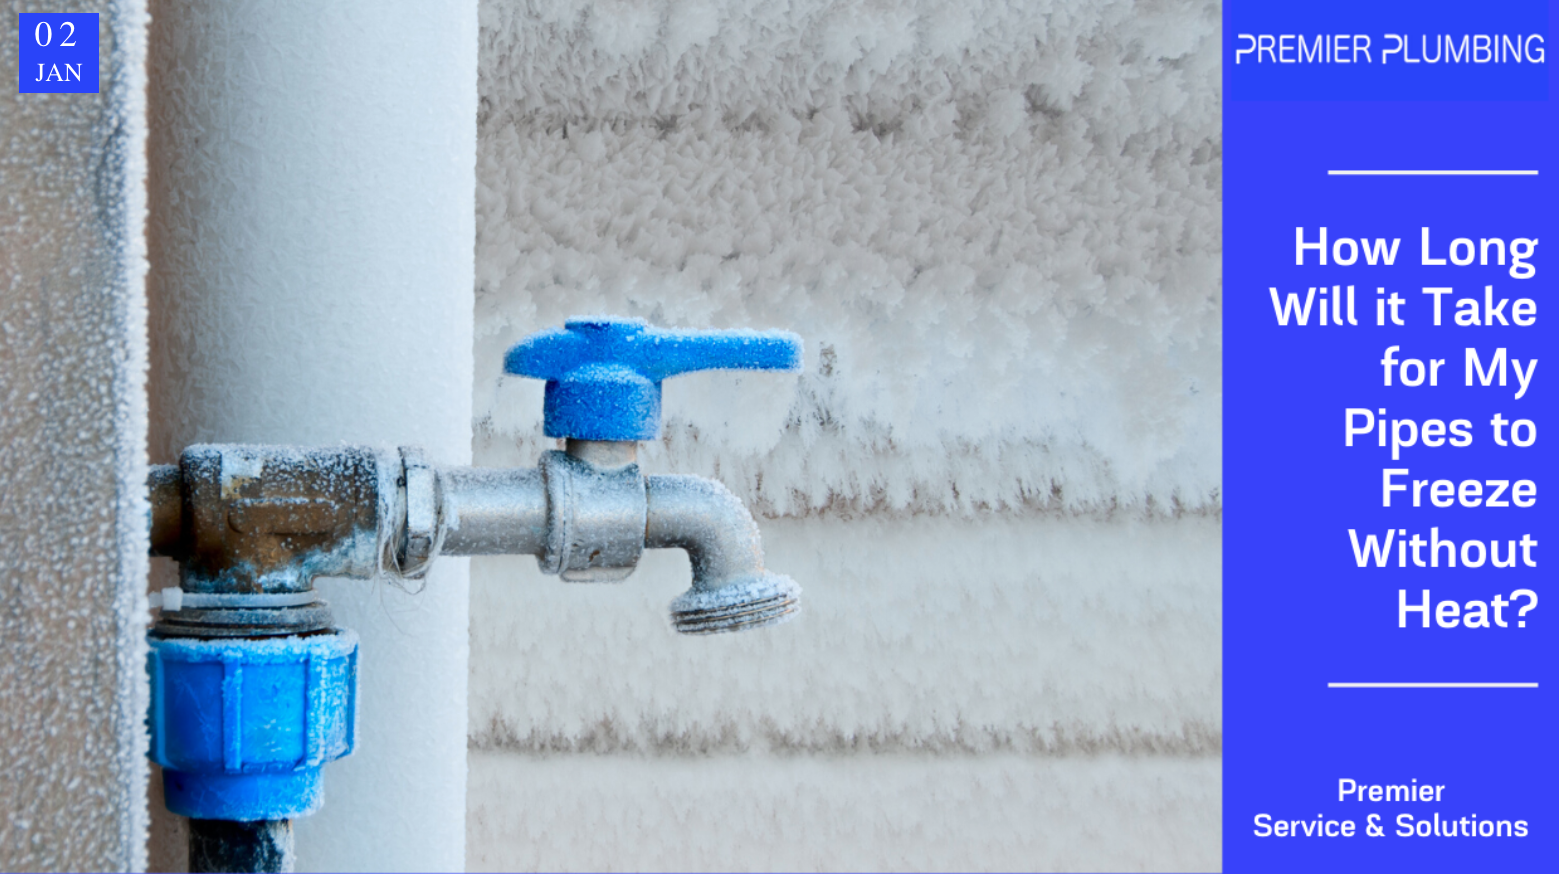
- Insulate outdoor faucets: Cover outdoor faucets with insulating foam covers or wrap them with insulation.
Thawing Frozen Pipes
If you suspect that your pipes are frozen, it’s crucial to act quickly to prevent further damage. Here are some steps to thaw frozen pipes safely:
- Locate the frozen pipe: Identify the section of the pipe that is frozen, usually indicated by a bulge in the pipe or reduced water flow.
- Open the faucet: Turn on the faucet connected to the frozen pipe to allow water to flow once the pipe thaws.
- Apply heat: Use a space heater, heat lamp, or hair dryer to apply heat directly to the frozen section of the pipe. Avoid using an open flame, as it can damage the pipe or cause a fire.
- Check for cracks: Regularly inspect the pipe for any signs of cracks or leaks as it thaws. If you notice any damage, turn off the main water supply and call a plumber immediately.
- Insulate the pipe: Once the pipe is thawed, wrap it with insulation to prevent future freezing.
If you are unable to locate or thaw the frozen pipe, or if you suspect a pipe has burst, turn off the main water supply and contact a professional plumber for assistance.
Frequently Asked Questions (FAQ)
Q: How long does it take for pipes to freeze?
A: Pipes can start to freeze within 6 to 12 hours when exposed to freezing temperatures, but the exact time can vary depending on factors such as pipe material, diameter, water flow, insulation, and ambient temperature.
Q: What are the signs of frozen pipes?
A: Signs of frozen pipes include reduced water pressure or flow, strange sounds coming from the pipes, and visible frost or ice buildup on the pipe surface.
Q: How can I prevent my pipes from freezing?
A: To prevent frozen pipes, insulate exposed pipes, seal air leaks, maintain a consistent indoor temperature, allow faucets to drip during extreme cold, disconnect garden hoses, and insulate outdoor faucets.
Q: What should I do if I have a frozen pipe?
A: If you have a frozen pipe, locate the frozen section, turn on the faucet to allow water to flow once thawed, and apply heat directly to the frozen area using a space heater, heat lamp, or hair dryer. If you suspect a pipe has burst, turn off the main water supply and contact a plumber.
Q: Can I use a space heater to thaw frozen pipes?
A: Yes, a space heater can be an effective way to thaw frozen pipes, but it’s important to use it safely and keep it away from flammable materials. Never leave a space heater unattended.Comparison of Pipe Materials and Freezing Times:
| Pipe Material | Freezing Time |
|---|---|
| Copper | Faster |
| Plastic | Faster |
| Galvanized Steel | Slower |
| Cast Iron | Slower |
For more information on preventing and dealing with frozen pipes, visit the U.S. Environmental Protection Agency’s website.


More Stories
How an Immigration Lawyer Helps You Navigate Complex Visa Rules
Is there a lifetime limit on epidural steroid injection?
What is Section 20 of the Motor Accident Insurance Act (Queensland)?