
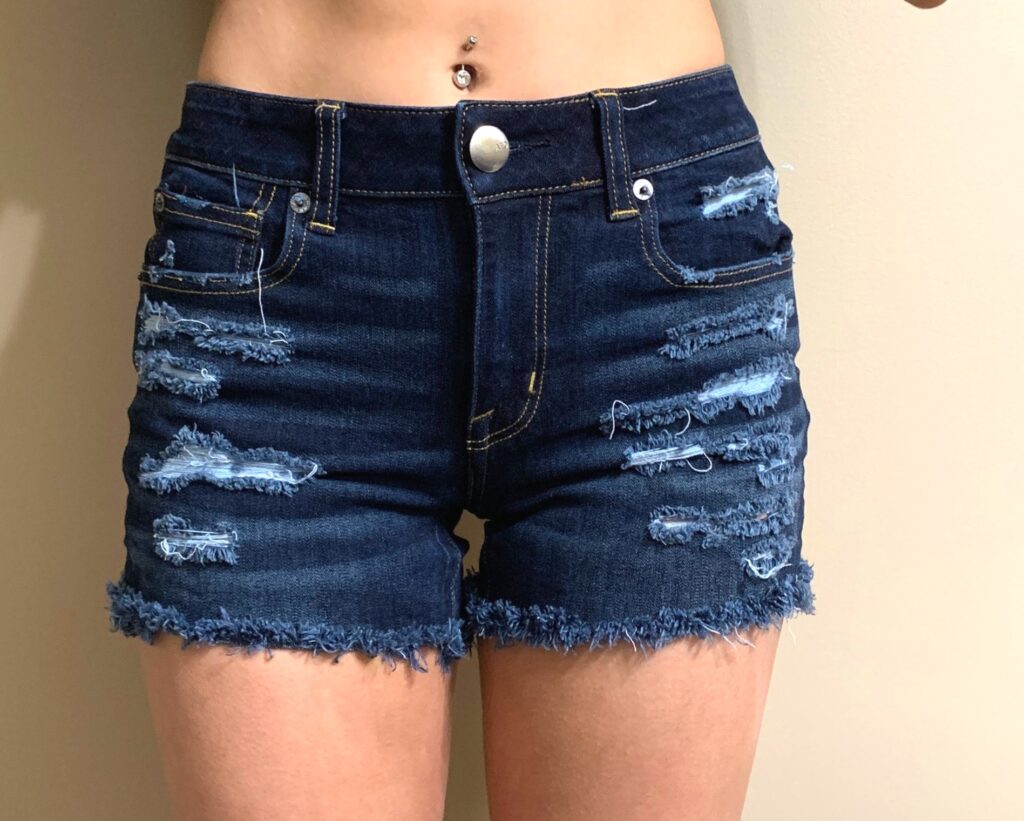
How to Fray Jean Shorts: A Comprehensive Guide
Fraying jean shorts is a popular DIY project that allows you to customize your denim, giving it a trendy, distressed look. Whether you want to update an old pair of jeans or create something entirely new, this guide will walk you through the process step by step. Additionally, we will cover the tools needed, techniques for fraying, and tips for achieving the perfect look.
Why Fray Jean Shorts?
Fraying your jean shorts can serve multiple purposes:
- Personalization: Customize your shorts to fit your style.
- Cost-Effective: Transform old jeans into fashionable shorts instead of buying new ones.
- Sustainability: Upcycling clothing reduces waste and promotes sustainable fashion practices.
Materials Needed
Before starting your project, gather the following materials:
| Material | Purpose |
|---|---|
| Old jeans | Base material for your frayed shorts |
| Sharp scissors | To cut the jeans accurately |
| Seam ripper | To loosen threads for a distressed look |
| Sandpaper or nail file | To create additional fraying effects |
| Measuring tape | For measuring the desired length of shorts |
| Chalk or fabric marker | For marking cut lines |
Step-by-Step Guide to Fraying Jean Shorts
Step 1: Choose Your Jeans
Select a pair of old jeans that you no longer wear. Consider the fit and style; high-waisted jeans or relaxed fits work well for creating stylish shorts.
Step 2: Prepare Your Workspace
Find a flat surface to work on. Lay down some old newspapers or a cloth to catch any loose threads or fabric scraps.
Step 3: Measure and Mark
- Try on the Jeans: Put on the jeans and stand in front of a mirror. Decide how short you want them to be.
- Mark the Length: Use chalk or a fabric marker to mark where you want to cut. A good rule of thumb is to mark about 1-2 inches longer than your desired length, as the fabric will fray.
Step 4: Cut the Jeans
Using sharp scissors, cut across the marked line. Make sure to cut straight across for a clean edge. If you prefer a more uneven look, you can cut in a wavy line.
Step 5: Start Fraying
- Loosen Threads: Use a seam ripper to gently pull out some threads from the cut edge. Focus on the horizontal threads (the weft) as they will create that frayed look.
- Distress Further: For additional fraying, use sandpaper or a nail file along the edges. This will create a more worn-in appearance.
Step 6: Wash and Dry
After you’ve achieved your desired level of fraying, wash and dry your shorts. This step will help set the frayed edges and enhance the distressed look.
Step 7: Final Touches
Once dry, inspect your shorts. You can trim any uneven areas or add more fraying if desired. If you want to add rips or other distressing techniques, now is the time!
Tips for Achieving the Perfect Frayed Look
- Start Small: It’s easier to add more fraying than to take it away. Begin with minimal fraying and adjust as needed.
- Experiment with Patterns: Try different cutting techniques—zigzag cuts or angled cuts can create unique styles.
- Use Different Washes: Consider using jeans in different washes (light, medium, dark) for varied looks.
Safety Precautions
When working with sharp tools like scissors and seam rippers, be cautious:
- Always cut away from your body.
- Keep tools out of reach of children.
- Wear safety glasses if using power tools.
Table: Common Techniques for Fraying Jean Shorts
| Technique | Description | Best Used For |
|---|---|---|
| Seam Ripping | Pulling out threads using a seam ripper | Creating soft frayed edges |
| Sanding | Using sandpaper to wear down edges | Achieving a distressed look |
| Scissor Cutting | Cutting with scissors at different angles | Customizing lengths and shapes |
| Washing | Laundering after cutting | Setting frayed edges |
Frequently Asked Questions (FAQ)
Q1: Can I fray any type of denim?
A1: Yes, most types of denim can be frayed; however, thicker fabrics may require more effort.
Q2: How long does it take to fray jean shorts?
A2: The entire process can take anywhere from 30 minutes to an hour, depending on how much distressing you want.
Q3: Will my shorts continue to fray after washing?
A3: Yes, additional washing may cause further fraying over time, which can enhance the distressed look.
Q4: Can I add embellishments after fraying?
A4: Absolutely! You can sew on patches, add studs, or even paint designs on your shorts after they are frayed.
Q5: Is there a way to prevent excessive fraying?
A5: To control fraying, consider applying fabric glue along the edges before washing or avoid excessive seam ripping.
Conclusion
Fraying jean shorts is an enjoyable DIY project that not only allows for creativity but also promotes sustainability in fashion. By following these steps and tips, you can easily transform an old pair of jeans into stylish shorts perfect for summer wear.For more information on denim care and styles, check out Wikipedia.


More Stories
How an Immigration Lawyer Helps You Navigate Complex Visa Rules
Is there a lifetime limit on epidural steroid injection?
What is Section 20 of the Motor Accident Insurance Act (Queensland)?